
To remove a hitch pin, simply pull it out using a pair of pliers or a hitch pin removal tool. Removing a hitch pin is a simple process that can be done with basic tools.
Whether you’re disconnecting a trailer or removing a bike rack from your vehicle, knowing how to remove a hitch pin is essential. By following the steps outlined below, you can safely and easily remove a hitch pin without any hassle.
With the help of a pair of pliers or a hitch pin removal tool, you can quickly pull the pin out of the hitch receiver. This allows you to detach or reposition various hitch-mounted accessories with ease. By understanding this straightforward process, you can confidently tackle any hitch pin removal task.
Understanding Hitch Pins And Their Purpose
Hitch pins are essential for secure towing, but knowing how to remove them is equally important. This guide explains the purpose behind hitch pins and provides step-by-step instructions on how to safely and easily remove them.
What Is A Hitch Pin And Why Is It Important?
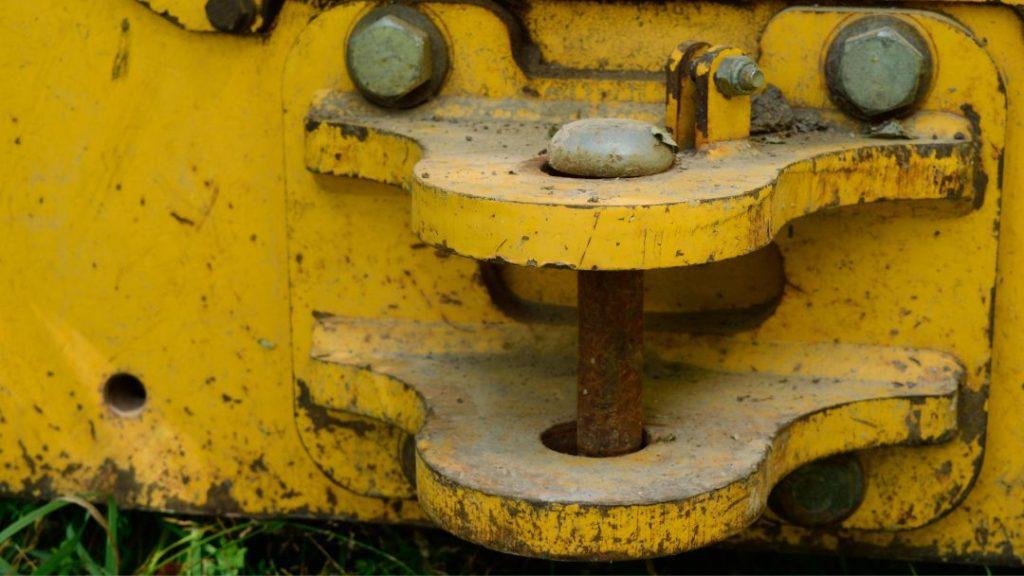
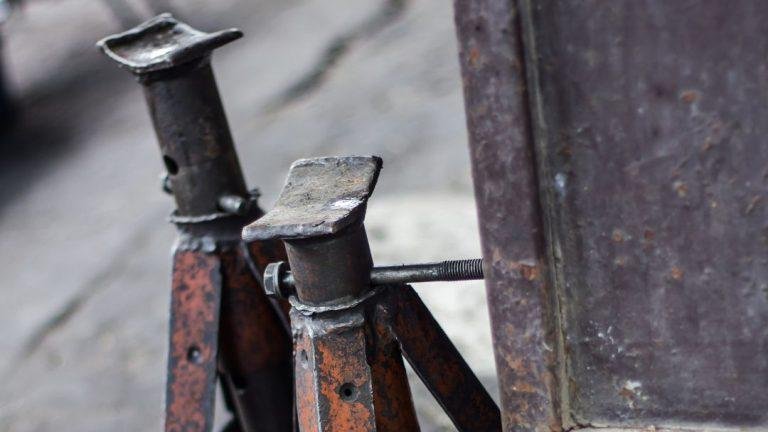
A hitch pin is a small, yet crucial, component used in towing systems to secure trailer attachments to the hitch receiver on a vehicle. It plays a significant role in ensuring safe and stable towing operations. Here are a few reasons why hitch pins are important:
- Reliable attachment: Hitch pins provide a secure connection between the trailer hitch and the hitch receiver, preventing accidental detachment during transportation.
- Ease of use: With their simple yet effective design, hitch pins make it easy to attach and detach trailers and other towable accessories.
- Versatility: Hitch pins are available in various sizes and designs, allowing them to be used with different types of hitches, such as ball mounts, pintles, and clevises.
- Safety: The proper use of hitch pins enhances towing safety by reducing the risk of accidents or mishaps caused by inadequate attachment.
Different Types Of Hitch Pins Available In The Market:
There are several types of hitch pins available in the market, each designed for specific towing needs or applications. Here are some common types you might come across:
- Standard hitch pins: These are the most basic hitch pins, featuring a simple design with a pin and clip mechanism. They are commonly used for towing light to moderate loads.
- Receiver hitch pins: Designed specifically for receiver-style hitches, these pins often come with a lock mechanism for added security.
- Quick-release hitch pins: As the name suggests, these pins allow for quick detachment without the need for tools. They are particularly convenient for frequent attachment and detachment.
- Hitch locks: Hitch locks are used to secure the hitch pin in place, deterring theft or unauthorized removal. They provide an extra level of security for valuable trailers and equipment.
- Hitch pin with swivel handle: These hitch pins feature a swivel handle for easier installation and removal. They are ideal for applications where frequent adjustments or changes are needed.
Understanding the different types of hitch pins available can help you choose the appropriate one for your specific towing requirements. It’s essential to select a hitch pin that matches the hitch receiver and ensures a secure attachment, providing peace of mind during your towing experiences.
Step-By-Step Guide To Removing Hitch Pins
Learn how to remove hitch pins with this step-by-step guide. Follow these easy instructions to safely and efficiently remove hitch pins in no time.
Removing a hitch pin may seem like a challenging task, but with the right tools and techniques, it can be a straightforward process. In this step-by-step guide, we will discuss different methods for removing a hitch pin and provide safety measures to consider before starting the process.
So, let’s dive in!
Preparing The Tools And Equipment Needed
Before you begin the process of removing a hitch pin, it is important to gather the necessary tools and equipment. Here’s what you’ll need:
- Pliers
- Hitch pin puller
- Hammer
- Punch
Safety Measures To Consider Before Starting The Process
Safety should always be your top priority when working with any kind of tool or equipment. Before removing a hitch pin, make sure to follow these safety measures:
- Wear protective gloves and goggles to protect your hands and eyes from any potential injuries.
- Make sure the area around the hitch is clear of any obstacles or objects that may hinder the process.
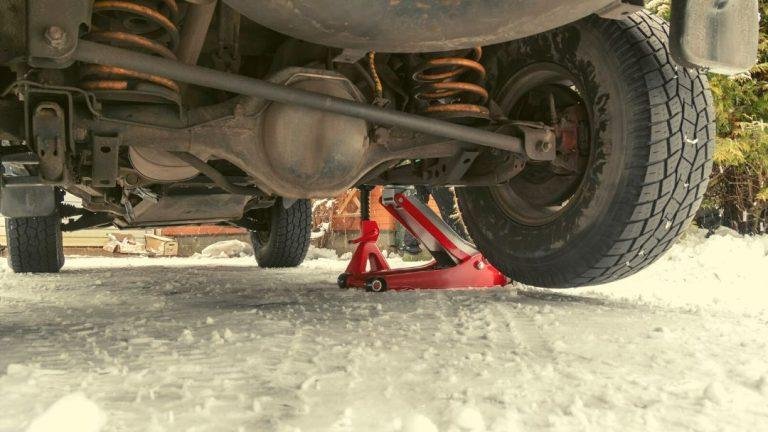
- Double-check that the vehicle is on a stable and level surface to ensure stability.
Now, let’s explore different methods for removing a hitch pin.
Method 1: Removing A Hitch Pin With Pliers
Using pliers is a common method to remove a hitch pin. Follow these steps:
Step 1: Positioning The Pliers Correctly
- Hold the pliers with the jaws parallel to the pin, ensuring a firm grip on the pin.
Step 2: Applying Pressure To Loosen The Pin
- Apply firm pressure to the pin by squeezing the handles of the pliers.
- Rotate the pin slightly to help loosen it if necessary.
Step 3: Removing The Pin From The Hitch
- Once the pin is loosened, pull it straight out of the hitch using the pliers.
- Be cautious not to apply too much force, as it may cause the pin to slip and potentially injure you.
Method 2: Removing A Hitch Pin With A Hitch Pin Puller
A hitch pin puller is a specialized tool designed to remove hitch pins efficiently. Here’s how to use it:
Step 1: Attaching The Hitch Pin Puller To The Pin
- Insert the hitch pin puller over the pin, ensuring a secure fit.
Step 2: Applying Force To Remove The Pin
- Gradually apply force to the hitch pin puller, pulling it away from the hitch.
- The hitch pin puller will provide increased leverage, making the removal process easier.
Step 3: Detaching The Hitch Pin Puller
- Once the pin is removed, detach the hitch pin puller from the pin by sliding it off.
Method 3: Removing A Hitch Pin With A Hammer And Punch
If the hitch pin is stubborn or stuck, using a hammer and punch can be an effective method. Follow these steps:
Step 1: Positioning The Punch Correctly
- Place the punch against the end of the hitch pin, ensuring a solid contact point.
Step 2: Striking The Punch With A Hammer
- Using a hammer, strike the punch firmly to create a force that loosens the pin.
- Repeat this process if necessary, but exercise caution not to damage the hitch or surrounding parts.
Step 3: Removing The Pin From The Hitch
- Once the pin is loosened, pull it straight out of the hitch using your hands or pliers.
Tips For Dealing With Stubborn Or Stuck Hitch Pins
Sometimes, hitch pins can be particularly stubborn or stuck. Here are some tips to help you overcome this challenge:
- Apply lubricant to the pin to reduce friction and make it easier to remove.
- Gently tapping the pin with a rubber mallet can help loosen it.
- If all else fails, seeking professional assistance or consulting the vehicle’s manual may be necessary.
With these step-by-step methods and safety measures, removing a hitch pin should be a manageable process. Remember to always prioritize safety and exercise caution throughout the removal process.
Additional Considerations And Tips
For effective removal of a hitch pin, it is important to consider a few additional factors. Follow these tips: use proper tools, apply lubrication, inspect for any damage, and ensure smooth removal. By following these guidelines, you can easily remove a hitch pin without any hassle.
Lubricating Hitch Pins For Easier Removal:
- Applying lubricant to the hitch pin can significantly ease the removal process. Here’s how you can do it:
- Use a high-quality lubricant specifically designed for hitch pins.
- Apply the lubricant generously to the entire surface of the pin.
- Ensure that all moving parts, such as the locking mechanism, are well-coated.
- Allow the lubricant to penetrate the pin for a few minutes before attempting removal.
- In case of rust or corrosion, use a wire brush to clean the pin before applying the lubricant.
- Regularly lubricate the hitch pin to maintain smooth operation and prevent rust buildup.
Inspecting And Maintaining Hitch Pins For Longevity:
- Proper inspection and maintenance of hitch pins can prolong their lifespan and prevent unexpected failures. Consider the following:
- Check the hitch pin for any signs of wear, including bends, cracks, or deformation.
- Ensure that the locking mechanism is fully functional and engages securely.
- Lubricate the pin periodically as mentioned earlier.
- Store the hitch pin in a dry and clean place to avoid exposure to moisture and debris.
- If you notice any damage or malfunction, replace the hitch pin immediately to prevent accidents or damage to your equipment.
Safety Precautions While Removing Hitch Pins:
- Removing hitch pins can sometimes be physically demanding and may pose certain risks. To ensure your safety:
- Wear protective gloves to avoid any injuries while handling the hitch pin.
- Use proper lifting techniques to prevent strains or sprains.
- If the hitch pin is stuck, avoid applying excessive force that can lead to sudden release and potential injuries.
- Follow the manufacturer’s instructions and safety guidelines specific to your hitch pin model.
- Clear the surrounding area of any obstacles or obstructions to provide ample workspace.
- Be aware of your surroundings and ensure that there are no bystanders in the immediate vicinity.
Avoiding Common Mistakes During The Removal Process:
- Mistakes during the hitch pin removal process can lead to frustration, damage, or accidents. Take note of these common errors and avoid them:
- Pulling the hitch pin at an angle, which can cause it to get stuck or bend.
- Using excessive force without first ensuring that the pin is fully disengaged.
- Neglecting to clean and lubricate the hitch pin regularly, leading to rust and difficult removal.
- Not inspecting the pin for wear or damage before each use, increasing the risk of failure.
- Rushing the removal process without taking the necessary safety precautions.
- Using tools or objects that are not specifically designed for removing hitch pins, potentially causing damage to the pin or surrounding equipment.
Remember, proper maintenance, lubrication, and adherence to safety guidelines are essential for hassle-free hitch pin removal and increased longevity. By following these additional considerations and tips, you can avoid unnecessary difficulties and ensure a smooth towing experience.
Frequently Asked Questions On How To Remove Hitch Pin
How Do You Get A Stuck Hitch Pin Out?
To get a stuck hitch pin out, follow these steps: 1. Apply penetrating oil to the hitch pin to loosen it. 2. Use pliers or a wrench to grip the pin firmly. 3. Wiggle and twist the pin while pulling it straight out.
4. If it’s still stuck, tap it gently with a rubber mallet or hammer to dislodge it. Another option is to use heat by using a blowtorch or heat gun to warm up the pin area. But exercise caution and avoid overheating the surrounding components.
If all else fails, seek professional help. Remember to regularly inspect and lubricate your hitch pin to prevent it from sticking in the future.
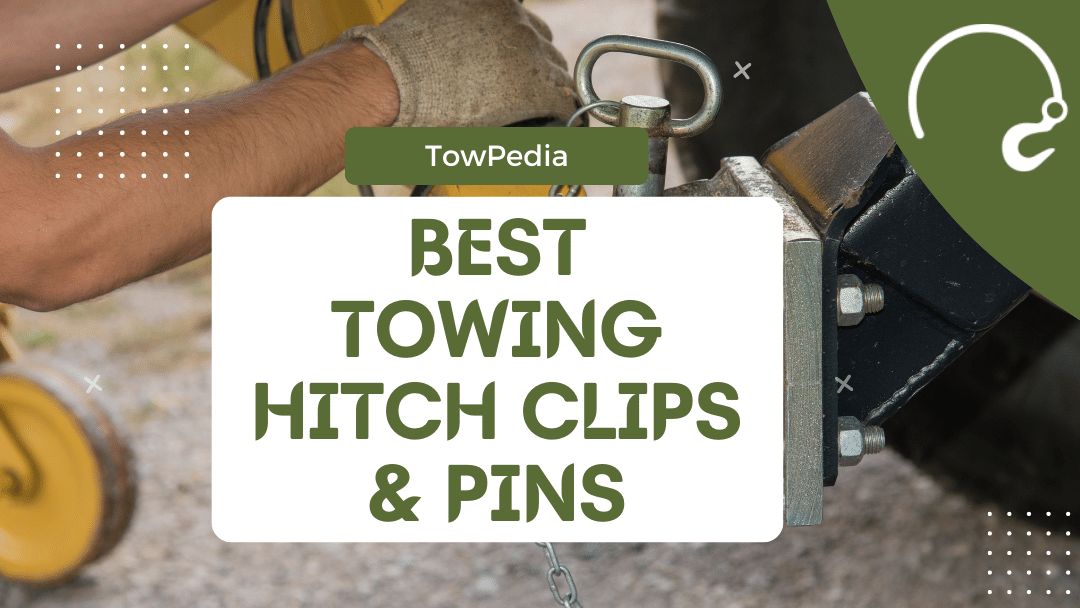
How Do You Use A Hitch Pin Clip?
Inserting a hitch pin clip is simple. First, align the hole in the hitch receiver and ball mount. Then, slide the pin through the holes. Next, firmly secure the pin by attaching the clip to the pin’s end. Ensure that the clip completely locks the pin in place.
Double-check to confirm the clip is secure and the pin won’t shift. Finally, give the pin a gentle tug to verify its stability. Following these steps guarantees the hitch pin clip is correctly used, offering peace of mind while towing.
Remember to perform regular inspections and maintenance to ensure safe and efficient towing experiences.
How Do You Remove A Trailer Hitch?
To remove a trailer hitch, follow these steps: 1. For safety, ensure the vehicle is parked on a level surface and the engine is turned off. 2. Locate the mounting bolts that secure the hitch to the vehicle’s frame. 3.
Using an appropriate socket wrench or spanner, loosen and remove the mounting bolts. 4. Once the bolts are removed, carefully lift the hitch off the vehicle’s frame. 5. Inspect the trailer hitch receiver for any signs of wear or damage.
6. If necessary, clean the hitch receiver and apply grease to prevent rust or corrosion. 7. When reattaching the hitch, align it properly with the vehicle’s frame and insert the mounting bolts. 8. Tighten the bolts securely using the socket wrench or spanner.
9. Double-check the tightness of the bolts to ensure a secure fit and prevent any accidents while towing. Remember to consult the vehicle’s manual or seek professional assistance if you encounter any difficulties during the removal process.
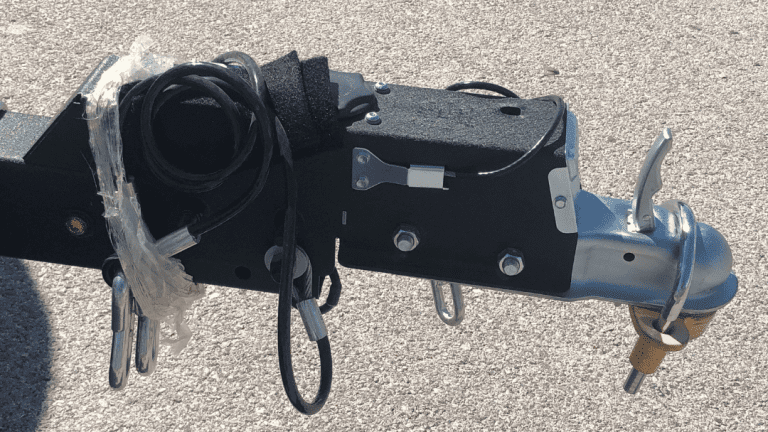
What Is The Pin On A Trailer Hitch Called?
The pin on a trailer hitch is called a hitch pin. It is used to secure the trailer hitch to the vehicle’s receiver. The hitch pin is inserted through the hole in the receiver and the corresponding hole in the trailer hitch.
It is then secured in place using a clip or lock. The hitch pin prevents the trailer hitch from sliding out or becoming loose during towing.
Conclusion
To recapitulate, removing a hitch pin can seem like a daunting task, but with the right tools and techniques, it becomes much easier. Start by gathering the necessary tools, including a hitch pin puller and a hammer. Carefully align the puller with the hitch pin and secure it tightly.
Use the hammer to tap the puller and loosen the pin until it can be pulled out. Remember to apply lubricant if needed to make the process smoother. Always prioritize safety by wearing gloves and following any specific instructions provided by the manufacturer.
With a little patience and practice, you’ll be able to remove hitch pins effortlessly. By knowing how to remove a hitch pin, you can ensure that your trailer or towed load is securely connected and ready for transport. So, the next time you come across a hitch pin, you’ll be prepared to tackle it with ease.
